
Last updated October 15, 2026
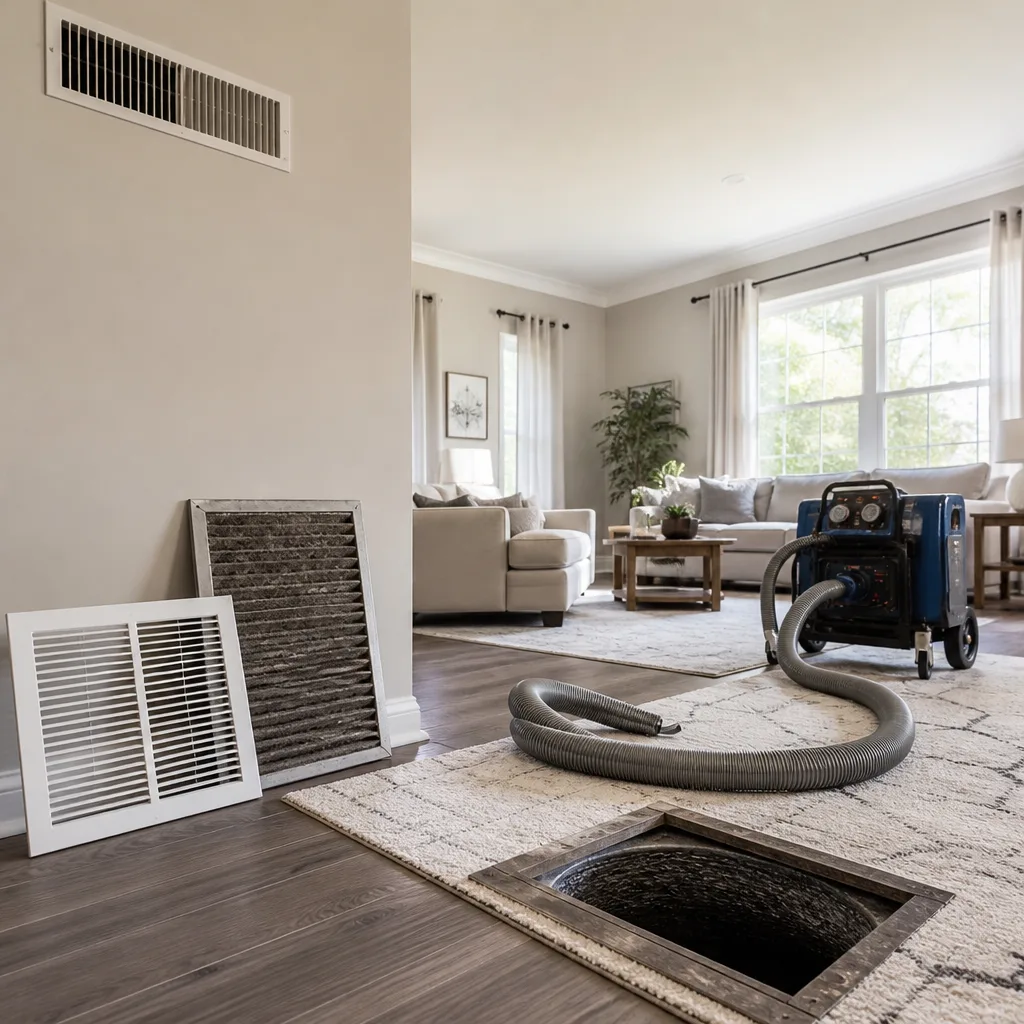 Whole-home duct cleaning
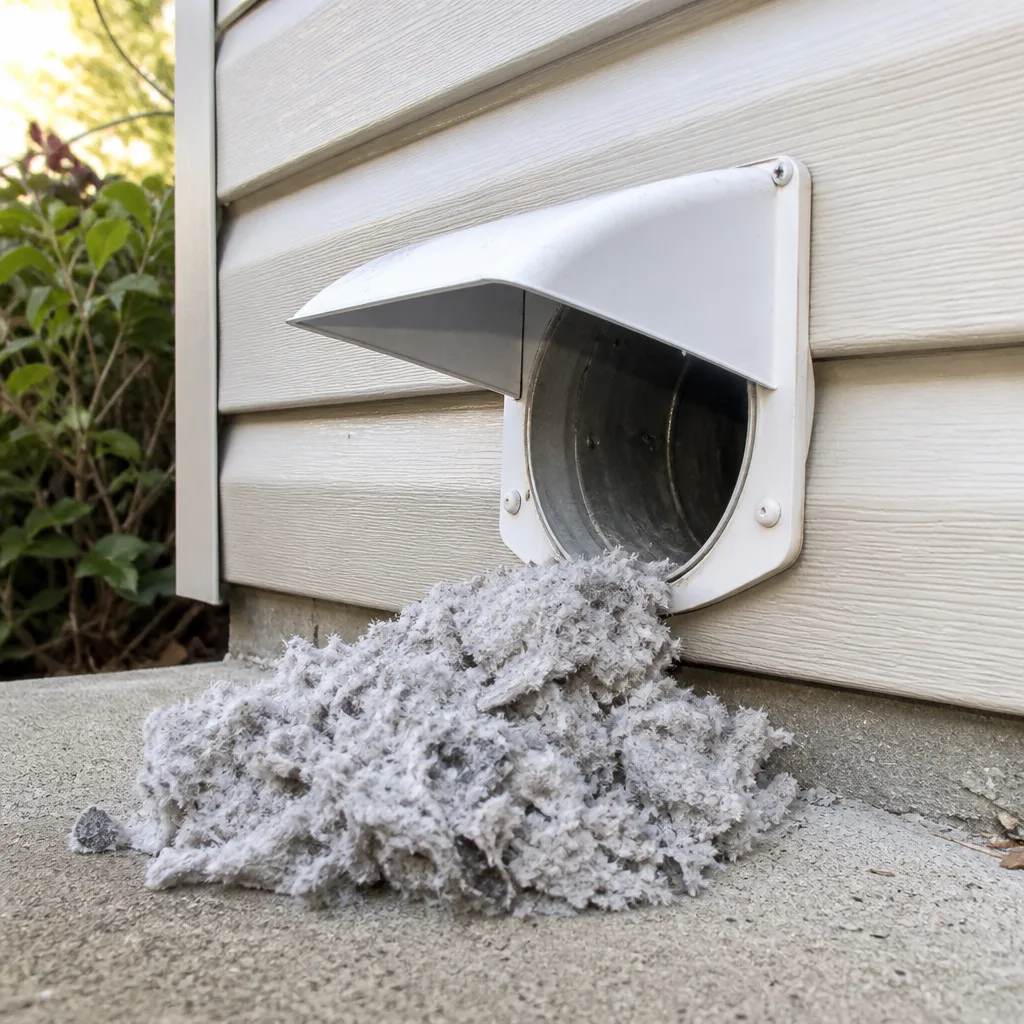 Dryer vent cleaning
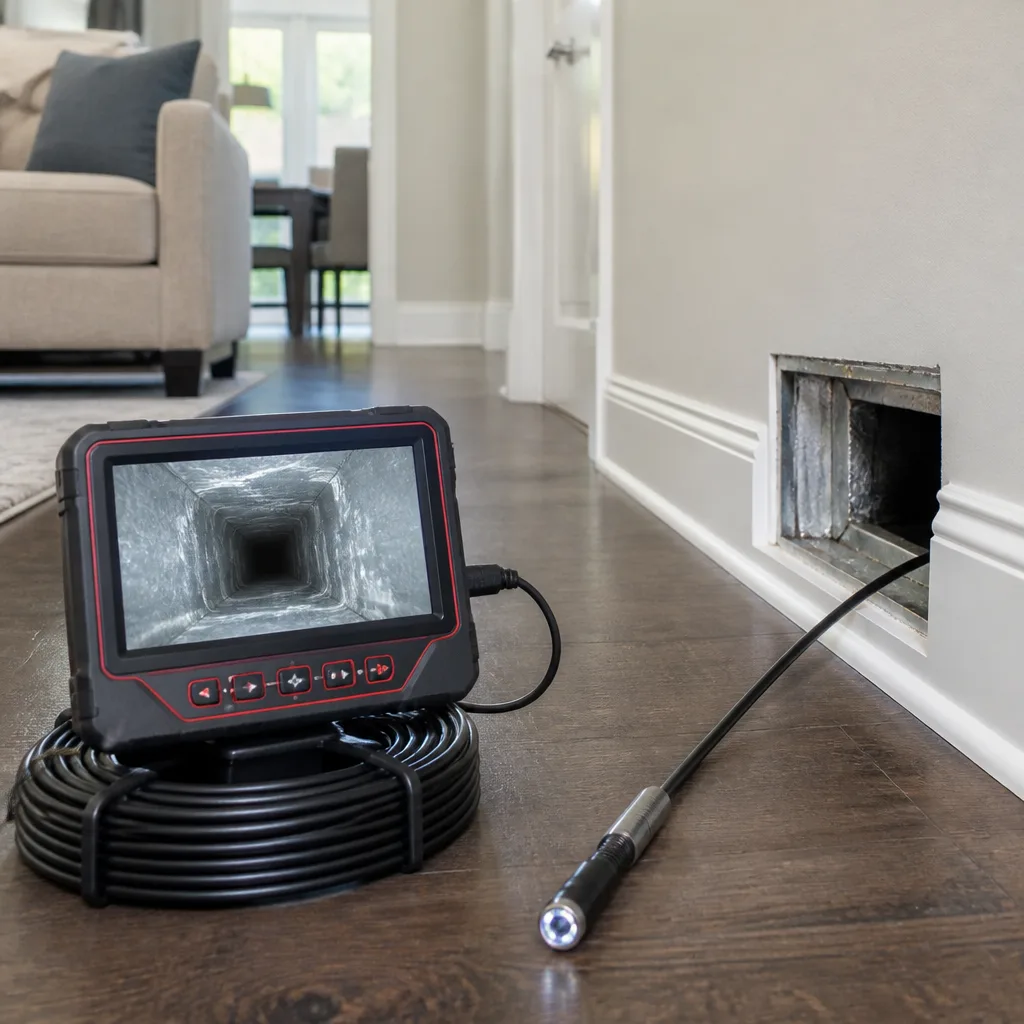 Camera inspection
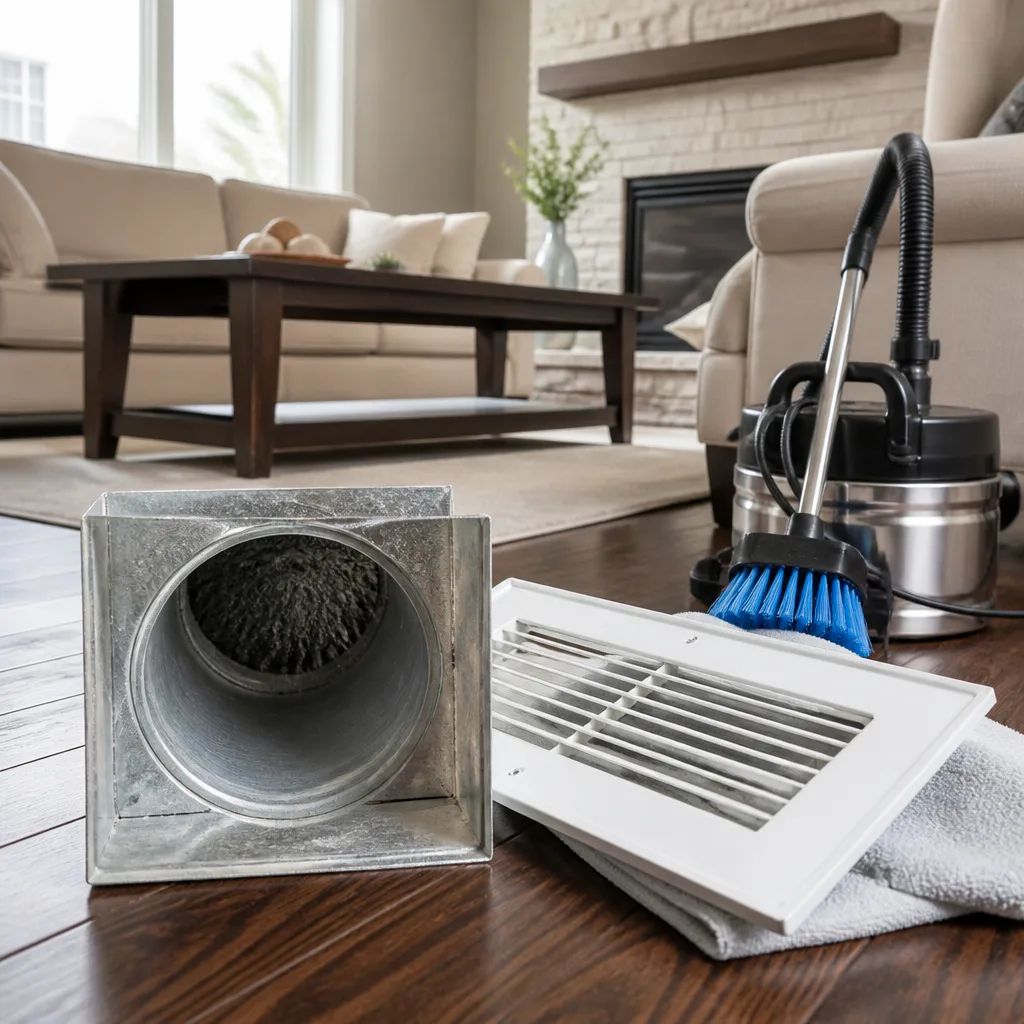 Sanitizing & deodorizing
Whole-system duct and dryer vent check with before-and-after photos - you see exactly what came out of your vents
That "$99 whole-house special" is a bait ad - the real number appears once they are in your hallway, or the "clean" is a shop-vac at the register. We photograph the inside of your ducts before and after instead.
Air Duct Cleaning Maintenance Checklist for San Jose Homeowners
Most air duct maintenance checklists you’ll find online are just cleaning company marketing dressed up as advice. They’re designed to make you feel like you should be doing something every month, which usually means calling someone. This guide is built around what you can actually see, smell, and measure yourself in a San Jose home. It tells you when cleaning is genuinely warranted, when it isn’t, and how to avoid paying for work you don’t need. We’ve spent 21 years providing our Air Duct Cleaning services in San Jose, and we’ll tell you plainly: a good observation routine saves most local homeowners at least one unnecessary service call per decade. That’s real money staying in your pocket.
Styles & brands we work with
Quick Answer
A San Jose homeowner’s air duct maintenance routine should combine monthly visual checks of supply registers, quarterly filter replacement (more often in high-particulate zip codes), and a written or photo log of what you observe. The goal isn’t to clean ducts on a schedule; it’s to know your system’s baseline condition well enough that you can tell the difference between normal dust accumulation and a developing problem that actually warrants professional air duct cleaning in San Jose. Most homes need professional cleaning every 3 to 5 years, not annually.
Table of Contents
- San Jose’s Seasonal Patterns and What They Do to Your Ducts
- The Five Observable Indicators at Your Supply Registers
- Filter Replacement Intervals for San Jose Zip Codes
- How to Document Duct Condition with a Smartphone
- The Single Task That Reduces Cleaning Frequency: Sealing Accessible Duct Joints
- A Month-by-Month Inspection Log for San Jose Homes
- Common Mistakes to Avoid
- When to Call a Professional
- Frequently Asked Questions
- The Bottom Line
San Jose’s Seasonal Patterns and What They Do to Your Ducts
San Jose has a Mediterranean climate that most people summarize as mild, but that summary hides three distinct seasonal phases that each affect your ductwork differently. Understanding these patterns is the foundation of any smart maintenance routine in this city, because what you’re looking for changes depending on the month.
From May through October, San Jose sits in its dry season. Rainfall is rare, the hills turn golden, and the air carries fine particulate dust from open spaces, construction, and the region’s famously dry soil. This is the season when dust builds up most rapidly inside your ducts. It’s also the season when your air conditioner runs hardest, pulling that dry, dusty air through the return vents and depositing the finest particles along duct walls. If you’re going to see visible dust accumulation at supply registers, you’ll see it between July and September.
August through November brings a separate concern: wildfire smoke. In recent years, San Jose has experienced extended periods of elevated PM2.5 from fires in the Santa Cruz Mountains, the Diablo Range, and points further north. This particulate matter is much finer than household dust, and it’s drawn into homes through any gap in the building envelope, then circulated through the duct system. It settles in ductwork and, critically, it also saturates your HVAC filter much faster than average dust. A filter that would normally last three months can be spent in three weeks during a heavy smoke event. We track BAAQMD data for exactly this reason, and we recommend that San Jose homeowners check their filters weekly during any period when the Air Quality Index exceeds 150.
November through April is the rainy season. San Jose typically receives around 15 inches of rain annually, with most of it falling in these months. Humidity inside ductwork rises, especially in crawlspace and attic ducts, and that creates conditions where dust that has accumulated during the dry season can become caked or damp. This is when you’re most likely to notice musty odors from your vents, and when you should be alert for signs of moisture, pest intrusion, or visible microbial growth on register surfaces. None of these require immediate panic, but all of them are signals that your duct condition has changed and deserves a closer look.
The Five Observable Indicators at Your Supply Registers
Every supply register in your home is a window into the inside of your ducts. The registers are where conditioned air exits the system, and any debris that’s riding along in that air stream becomes visible around the register grille, the adjacent wall or ceiling, and the fins themselves. You don’t need to call anyone or spend a dollar to check these five indicators. You need a flashlight, a damp paper towel, and five minutes.
1. Film or streaking on the register grille. A light, dry dust that wipes away easily is normal. What you’re looking for is a dark, sticky film, or streaking that appears to be attached rather than resting on the surface. This indicates that particulate is binding with moisture or condensation, which is a step up from ordinary dust and typically points to buildup inside the duct, not just at the register.
2. Dust pattern on the wall or ceiling around the register. When a supply register is dirty, the air blowing past it tends to deposit a dirty shadow pattern on the surface around the grille. This is called a ghosting pattern, and it’s one of the most overlooked diagnostic signs in HVAC maintenance. A light ring that appears over months is normal. A dark, pronounced pattern that returns within a few weeks of wiping it away is a stronger signal that your ducts are releasing particulate matter in larger quantities.
3. Visible debris inside the register when you look in with a flashlight. Remove one register in a common-area room and shine a flashlight into the boot, the metal transition piece between the duct and the register. What you’re looking for is matted debris, pet hair, or a grey, felt-like dust coating on the duct wall. Loose dust that’s lightly settled is normal. A grey coating that looks like lint from a dryer is accumulated particulate that’s been cycling through your system, and it’s one of the clearest indicators that professional air duct cleaning in San Jose is warranted. See Air Duct Cleaning Warning Signs: A San Jose Homeowner’s Reference Guide for additional context.
4. Airflow difference between rooms. Your hand and your ear together can tell you a lot. Walk room to room and feel the airflow from each register while the system is running. If one room is noticeably weaker than its neighbor, and the register is fully open and the damper isn’t closed, that restriction could be a closed internal damper, a crushed or sagging flex duct, or a buildup of debris inside that particular branch line. Airflow imbalance is a maintenance issue that affects comfort and efficiency, and it’s worth documenting when you first notice it so you can tell whether it’s stable or getting worse.
5. Odor that only appears when the system runs. This one requires some honesty with yourself. If the house smells fine when the system is off, and you notice a stale, musty, or sour smell only when the blower starts, that points to something in the ducts or the air handler. If the smell lasts for an hour after the system shuts down, the source is more likely to be in the return path or the filter area. Neither of these is something to ignore, and neither is something you should try to mask with a scented product. Masking the smell does nothing about what’s producing it.
Filter Replacement Intervals for San Jose Zip Codes
The single most consequential maintenance action for your duct system isn’t cleaning the ducts. It’s replacing the filter that protects them. A clean filter catches particulate before it enters the air handler and ductwork. A spent filter stops catching anything, which means everything that would have been trapped is now circulating through the system and depositing on duct walls, coil fins, and blower components. In a San Jose context, filter replacement intervals aren’t one-size-fits-all. They depend on where you live and what’s happening in the air outside.
Most filter manufacturers print a 90-day replacement interval on the package. For many San Jose homes, that’s reasonable for a 1-inch MERV 8 filter. But for homes in parts of the city with higher particulate days, that interval can shrink dramatically. The Bay Area Air Quality Management District tracks particulate data by monitoring station. Homes near the 95112, 95116, and 95122 zip codes, which sit closer to the valley floor and major roadways, typically experience more frequent moderate-particulate days than homes in the 95120, 95129, and 95070 areas on the west side or near the foothills.
Here’s a working schedule based on what we see in San Jose homes, expressed as a table for quick reference:
- Standard conditions, typical San Jose home, 1-inch filter: Replace every 90 days.
- Wildfire smoke event, AQI above 150 for 3+ consecutive days: Check every two weeks, replace when visibly discolored, often within 30 days.
- Home with 2+ shedding pets: Replace every 60 days regardless of AQI.
- Home near active construction, major roadway, or unpaved areas: Replace every 60 days, more often if the filter is visibly grey at six weeks.
- 4-inch media filter in a filter cabinet: Replace every 6 to 9 months, with a visual check during smoke season.
One note that matters: filter replacement is preventive maintenance, not a cleaning substitute. If your ducts already have years of accumulated particulate, a clean filter stops more from being added, but it doesn’t remove what’s already adhered to the duct walls. That’s where a professional Kestrel Air Duct San Jose home service visit, with the right negative-air equipment, becomes the right call.
How to Document Duct Condition with a Smartphone
Most homeowners have no baseline for what their ducts look like, so they can’t tell whether a technician who shows them a photo in year five is showing them something new or something that’s been there since year one. A smartphone documentation routine solves that problem, and it’s simpler than most people expect. You don’t need a borescope or a pro camera. You need your phone’s camera, its flash, and a short note-taking habit.
Step 1: Photograph the same two registers every quarter
Pick two registers: one in the main living area and one in a bedroom or hallway. Remove each grille and take three photos: one of the grille face, one of the boot looking down, and one angled into the duct run. Use the flash. Save these photos to a dedicated album on your phone named with the date. Do this on a recurring basis, and within a year you’ll have a visual record that shows exactly how fast your ducts are accumulating debris. That record is your protection against an inflated diagnosis on a future service visit.
Step 2: Note any visible changes in a written log
After each photo session, write down two things: any change you can see compared to the previous session, and any change you’ve noticed in the home, like more dust on furniture, a new odor, or a change in allergy symptoms. You don’t need a spreadsheet. A note in your phone with a date works. The value is in the pattern, not the precision.
Step 3: Keep filter change photos in the same album
When you replace the HVAC filter, take a photo of the old one next to a fresh one. This is the single most persuasive evidence of what’s happening in your home’s air, and it’s useful when a technician wants to sell you something that goes beyond what you can see for yourself. If your filter is light grey at 90 days, your ducts are probably not accumulating debris quickly. If it’s dark grey or black at 30 days, you have a particulate problem that deserves attention, and the photo proves it.
This documentation routine costs nothing and takes five minutes per quarter. The reason it matters is simple: a homeowner who knows their baseline is a harder target for unnecessary work, and an easier partner for the right work when it’s truly needed.
The Single Task That Reduces Cleaning Frequency: Sealing Accessible Duct Joints
If a San Jose homeowner does one maintenance task beyond filter replacement, it should be sealing the accessible duct joints in their attic or crawlspace. This is the highest-leverage action you can take to reduce how often your ducts need professional cleaning, and it’s something many duct cleaning companies never mention because it reduces their repeat business. We’ll tell you about it anyway, because we’d rather do less work for a homeowner who trusts us than more work for one who doesn’t.
Here’s the problem: most residential duct systems in San Jose were assembled with duct tape at the joints. Duct tape, despite the name, is not a durable product for sealing air ducts. It dries out, loses adhesion, and falls away within a few years, especially in attics that hit 120 degrees in summer. When a joint opens up, the air handler is still pulling air through the return path, but now the return side is also pulling air from the attic or crawlspace. That air bypasses the filter entirely. Every particle in that unfiltered air goes straight into the duct system, the air handler, and eventually through the supply registers into your living space.
The fix is a hand tool and a product called mastic sealant. It’s a thick, brush-on paste that hardens to a flexible, permanent seal. It’s applied on the outside of the joint, and it stays in place for decades. Here’s the step-by-step for accessible ductwork:
- Turn off the system at the thermostat so there’s no pressure in the ducts while you work.
- Put on a dust mask and work gloves, and bring a headlamp or flashlight into the attic or crawlspace.
- Inspect each joint where two duct sections meet. If you can see old tape that’s peeling, if you see daylight gaps, or if you can feel air moving against your hand while the system runs, that joint needs sealing.
- Wipe the area around the joint with a dry rag to remove loose dust.
- Brush mastic sealant over the entire joint, extending an inch or two past the connection on each side. Work it into the seam.
- Let the mastic dry fully, typically 24 to 48 hours, before running the system normally.
A bag of mastic costs between $15 and $25 at any hardware store in San Jose, and a disposable brush costs a dollar or two. One afternoon in the attic can reduce the dust load entering your ducts by a meaningful percentage, which translates directly to longer intervals between professional cleanings. For related guidance, see Air Duct Cleaning Permits, Codes & Inspections in CA: What You Need to Know. If you’re not comfortable working in an attic or crawlspace, this is a job a handyman or an HVAC contractor can do in an afternoon.
A Month-by-Month Inspection Log for San Jose Homes
Here’s the practical translation of everything above into a 12-month routine. This is designed around San Jose’s actual seasonal patterns, not a generic calendar. Each month has a single task that takes 10 minutes or less in most homes.
January. Check the filter. Replace if needed. This is the month to inspect for moisture issues, since winter rain can expose roof leaks that drip onto attic ducts. Look for water staining on the duct insulation and around where ducts pass through the ceiling.
February. Remove and inspect two supply registers. Photograph the boot and duct interior. Add the photos to your duct album and note any changes since the last session.
March. Check the filter and replace if the rainy season has been active or if you run the heat regularly. Listen for any new rattles or hums from the air handler when the system starts.
April. Inspect the visible duct runs in your attic or crawlspace. Look for sagging flex ducts, separated joints, and old peeling tape. Spring is the best time to do the mastic sealing described above, before the attic becomes too hot to work in.
May. Replace the HVAC filter. Dry season has begun, and you’re now in the period of highest dust load. If you have a 4-inch media filter, at minimum inspect it closely.
June. Do the monthly register check in the two rooms where your family spends the most time. This is the month when dry-season dust accumulation becomes visible if your ducts are starting to load up.
July. Check the filter. If you’re seeing visible grey at 30 days, switch to a 60-day replacement interval through the end of the dry season. Note this on your calendar.
August. Wildfire smoke awareness month. Check BAAQMD data weekly. If AQI exceeds 150 for multiple days, check the filter every two weeks and replace if it’s visibly discolored.
September. Do the quarterly photo documentation of the two registers. Compare against the February photos. If you see a noticeable increase in coating or debris in six months, make a note of it. It doesn’t mean you need cleaning immediately, but the trend matters.
October. Replace the filter before the rainy season. Wildfire season is generally winding down, but late-season fires can still happen. Check the filter again after any significant smoke event.
November. First rain usually arrives in San Jose this month. Check the attic for any signs of moisture at duct penetrations. If you notice a musty smell from the registers when the heat first runs for the season, note it in the log.
December. Replace the filter. Do a quick check of the register in the main living area for any new streaking or ghosting. End the year with a note in your log about overall duct condition compared to January.
This routine is intentionally modest. It’s not designed to create work. It’s designed to keep you informed enough that when a problem develops, you know about it early, and when no problem exists, you know that too. For more guides & resources, explore our blog.
Common Mistakes to Avoid
- Replacing the filter on a rigid 90-day schedule without ever looking at it. In San Jose, a wildfire season filter can be spent in three weeks, and a mild-weather filter can look near-new at 90 days. Look before you replace.
- Using a filter with too high a MERV rating for your system. A MERV 13 filter in a system designed for MERV 8 can restrict airflow, increase static pressure, and strain the blower motor. Higher MERV is not automatically better in every system.
- Wiping dust from registers but never looking inside the duct. The dust on the grille is the end of the story, not the beginning. The inside of the boot tells you what’s happening upstream, and that’s the information you actually need.
- Masking a musty odor with scented products or plug-in air fresheners. The odor is a signal. Masking it does nothing to the source, and it makes the signal harder to detect later, which means the problem gets worse before it gets addressed.
- Ignoring airflow imbalance between rooms. A weak room is often written off as “that’s just how this house is,” but airflow imbalance that develops over time is a maintenance signal. Document when you first notice it and whether it changes.
- Calling for a professional cleaning on a schedule instead of on evidence. Most homes don’t need annual duct cleaning. If you’ve established a baseline and documented it, you’ll know when cleaning is actually due, and you won’t pay for it when it isn’t.
- Skipping the smartphone photos because they feel like a hassle. The five minutes per quarter is the cheapest insurance you’ll ever buy against an unnecessary cleaning bill. The photos are your evidence, and no one can argue with evidence.
When to Call a Professional
Most of the time, a maintenance routine keeps you informed and keeps your system running cleanly without outside help. But there are specific situations where a professional with the right equipment is the right call, and trying to handle them yourself either won’t work or could make things worse. If you see visible mold growth inside a duct or on the inside of the air handler cabinet, stop and call someone who can assess it properly. Same goes for water inside the ductwork, which points to a leak that needs to be found and fixed, not just wiped up. If you can hear an animal in the ducts, you have a pest issue that may require containment and replacement of damaged duct sections. If you have a persistent musty odor that lasts beyond the first hour of operation and doesn’t respond to filter changes, that’s a diagnostic situation, not a DIY one. And if you’ve done your documentation and can see clear accumulation over a year or more, professional cleaning is the honest answer. Kestrel Air Duct San Jose offers free estimates in San Jose. Call (669) 220-7869 and we’ll give you a written price before any work begins.
Frequently Asked Questions
Most San Jose homes need professional air duct cleaning every 3 to 5 years. The actual interval depends on what your quarterly register checks show, whether you have pets, whether wildfire smoke events have been heavy, and how well your filter has been maintained. If you’ve followed a documentation routine and your register boots show only light, loose dust, you don’t need cleaning just because three years have passed. If you see grey coating and matted debris, the evidence says it’s time.
In San Jose, professional air duct cleaning for a typical single-family home runs between $350 and $650 depending on the number of systems, the accessibility of the ductwork, and the level of contamination present. Homes with multiple systems or significant pet-hair accumulation may run higher. We recommend getting a written quote before any work begins. Call (669) 220-7869 for a free estimate from our team.
A legitimate duct cleaning company in San Jose will put the price in writing before work begins, will show up when they said they would, and will offer a written guarantee on the work. They’ll also be able to name the equipment they use and explain what it does in plain language. If a company quotes a suspiciously low teaser price over the phone and then revises it after inspecting the ducts, that’s a pattern to walk away from. At Kestrel, we operate under the Kingswell Guarantee: a written price first, a defined arrival window, and a written 365-Day Done Right Promise on every job.
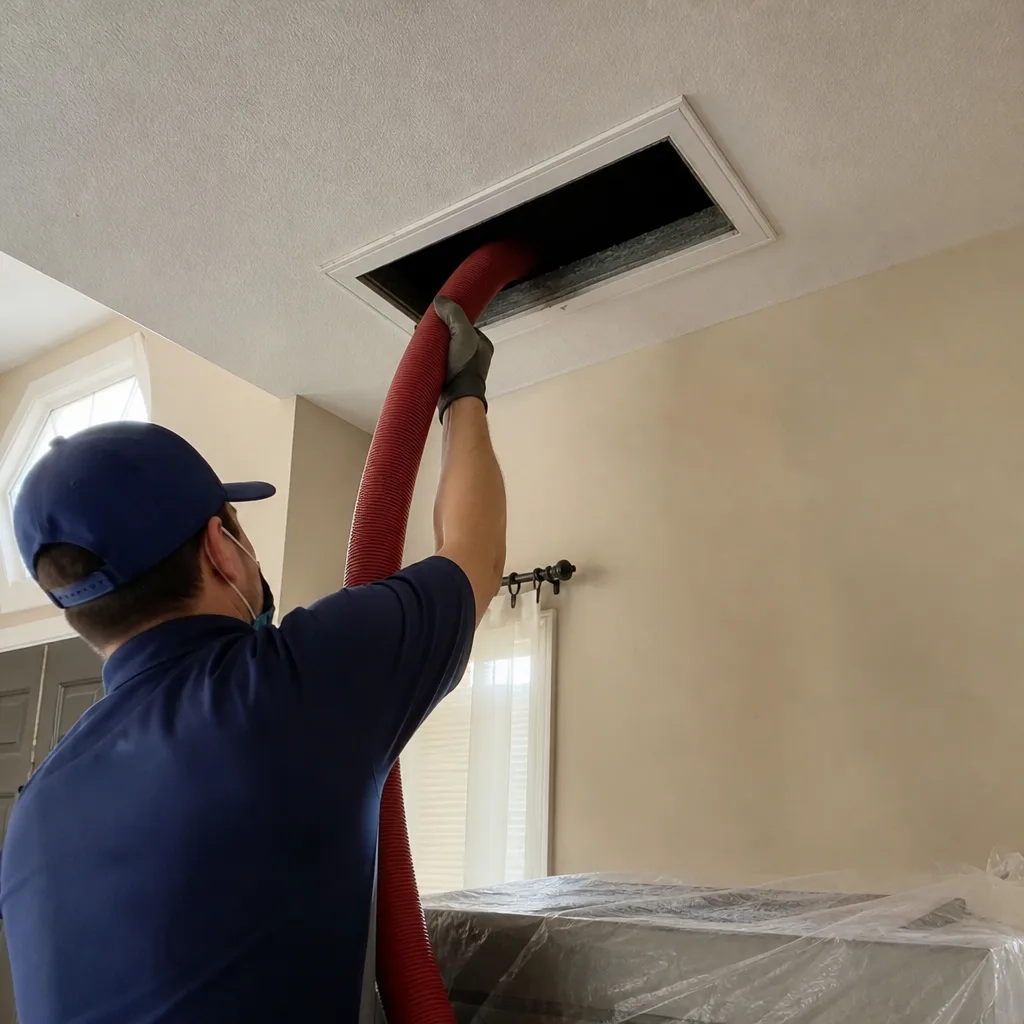
No. A shop vac cannot generate the airflow or reach needed to clean a residential duct system effectively, and in many cases it stirs up debris without removing it, making the indoor air temporarily worse. Professional duct cleaning uses negative-air extraction, where a powerful vacuum pulls a continuous flow of air through the ducts while rotary brush agitation loosens debris from the duct walls. The system needs to be sealed and the pressure managed properly, which is why it’s not a DIY job.
Air duct cleaning addresses the HVAC ductwork that carries heated and cooled air through your home. Dryer vent cleaning addresses the dedicated exhaust duct that carries hot, lint-laden air from your clothes dryer to the outside. They’re separate systems with separate problems. At Kestrel, we offer both Air Duct Cleaning in San Jose and Dryer Vent Cleaning in San Jose as distinct services, and we never bundle them into one price without telling you exactly what each one costs.
The Bay Area Air Quality Management District does not set a required cleaning interval for residential duct systems; it tracks and reports outdoor air quality data that homeowners can use to make their own judgments. During periods of elevated particulate, including wildfire smoke events, BAAQMD data is a useful guide for accelerating filter replacement and inspection. We’ve used that data for years to help San Jose homeowners understand what’s entering their systems and when to act.
The Bottom Line
A maintenance checklist for San Jose air ducts isn’t a cleaning schedule. It’s a monthly observation routine that tells you exactly when cleaning is warranted and when it isn’t, and that’s the difference between spending maintenance dollars wisely and spending them out of habit. Document your ducts with your phone. Replace filters based on what’s actually happening in the air outside your home. Seal the joints in your attic or crawlspace. And when the evidence says it’s time to call a professional, call one who puts the price in writing before the work starts. That’s how a San Jose homeowner keeps clean ducts, a healthy system, and an honest maintenance record. Written by Dale Whitmore, Owner at Kestrel Air Duct San Jose, serving San Jose since 2004.
See the difference
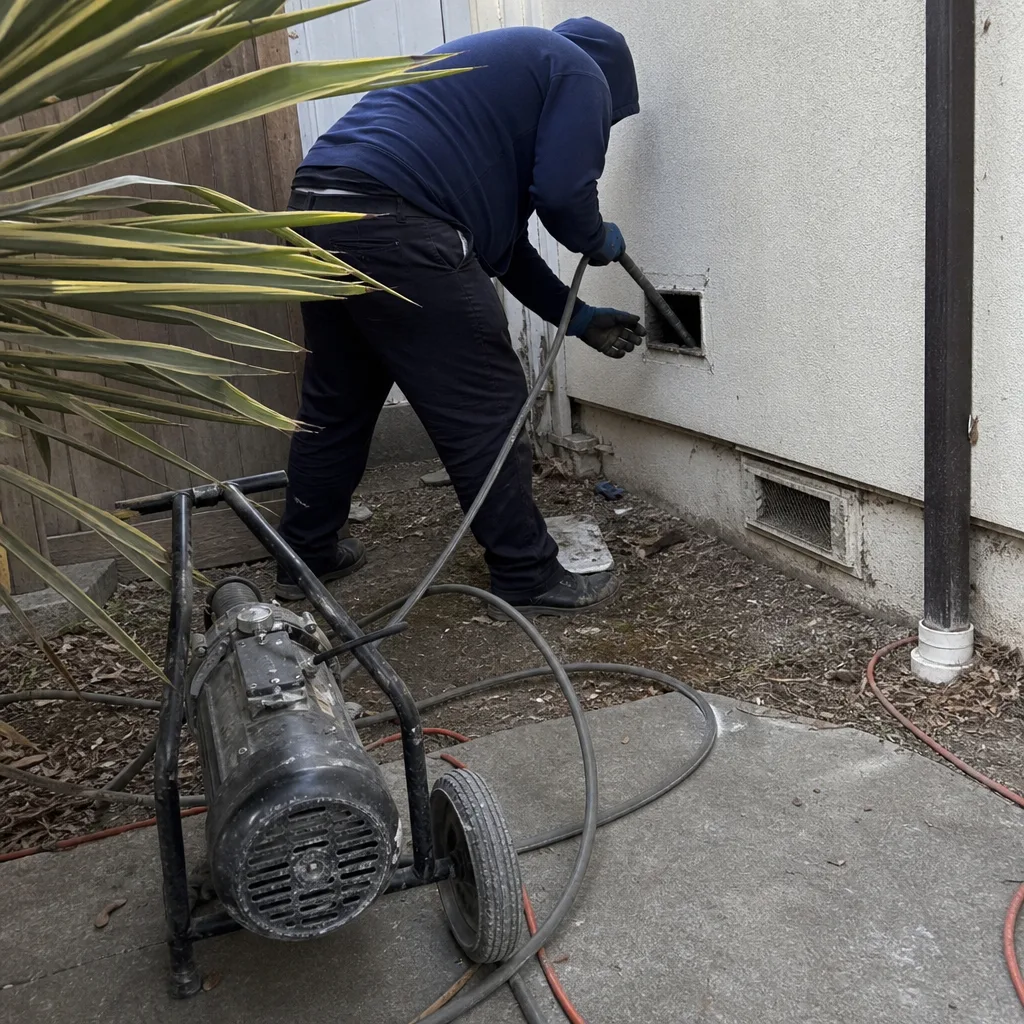 Before
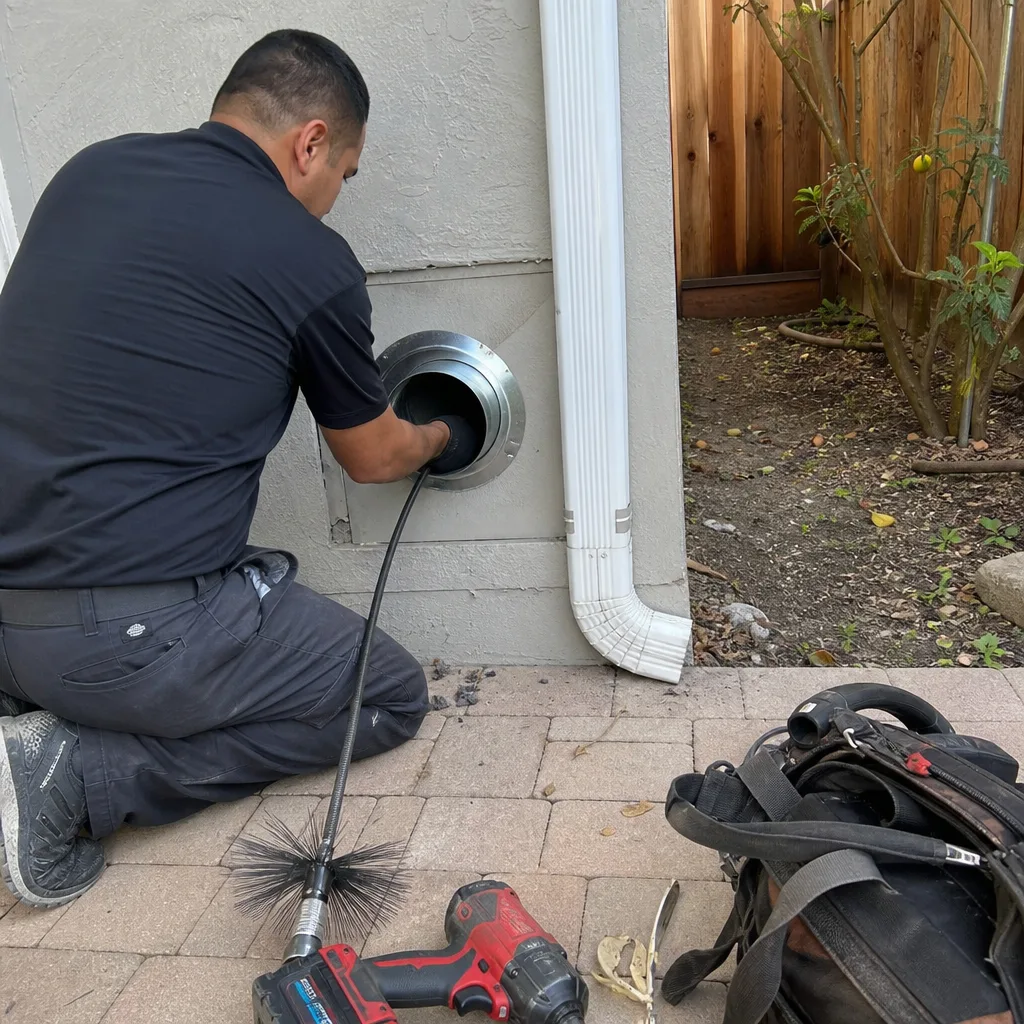 After
After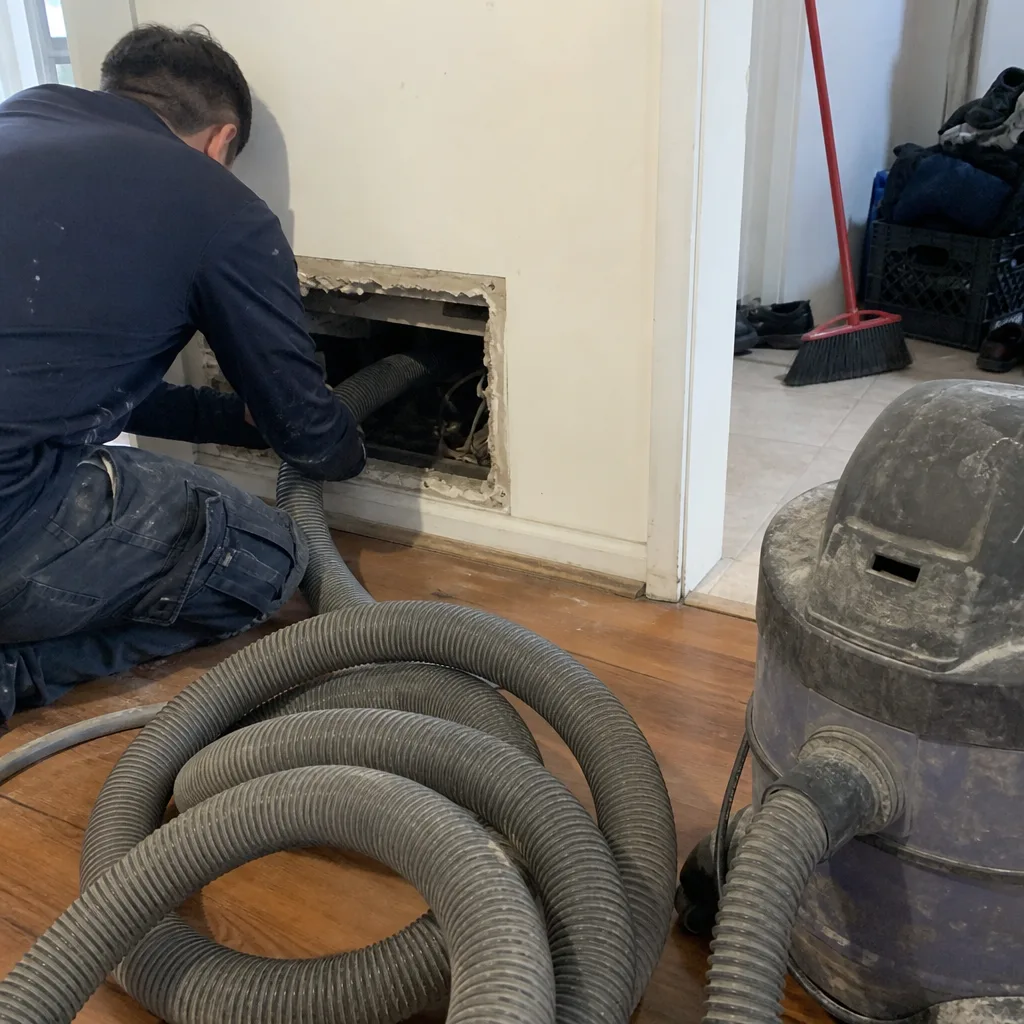 Before
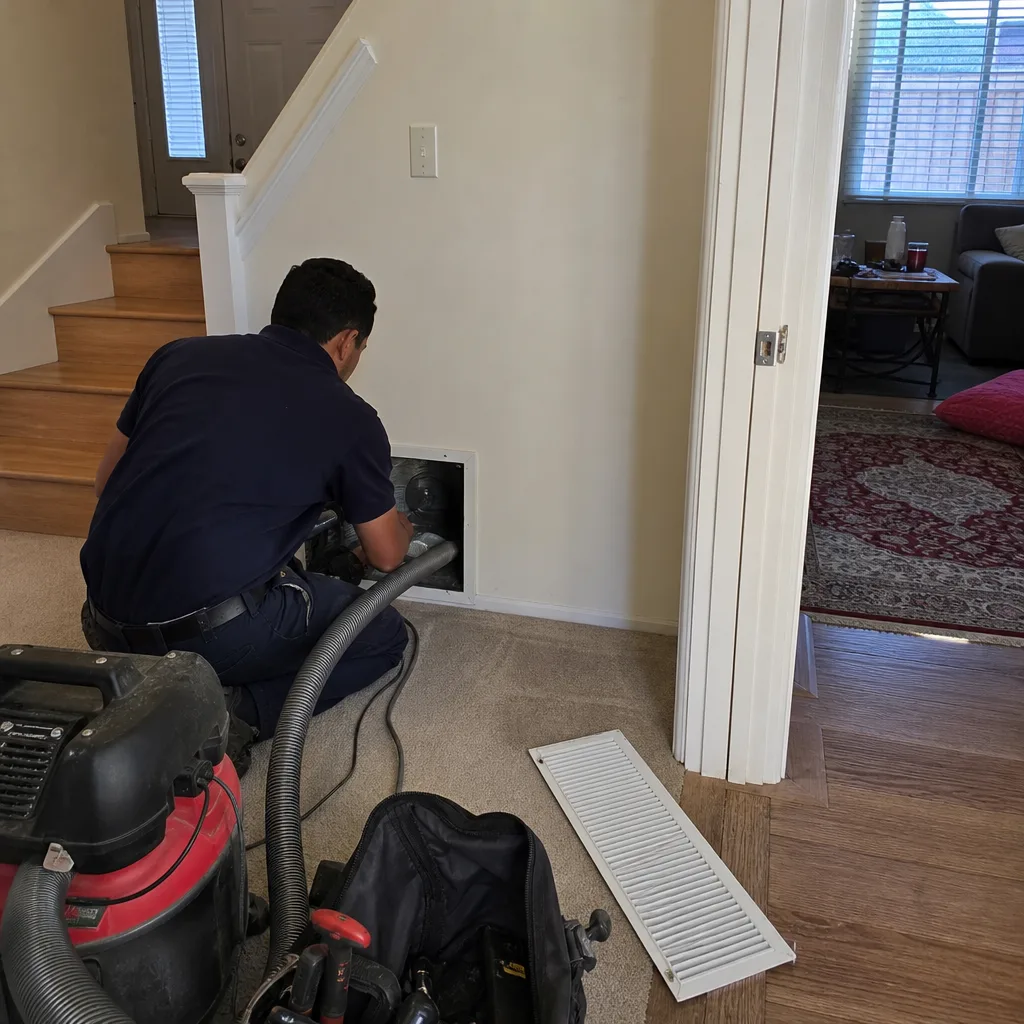 After
After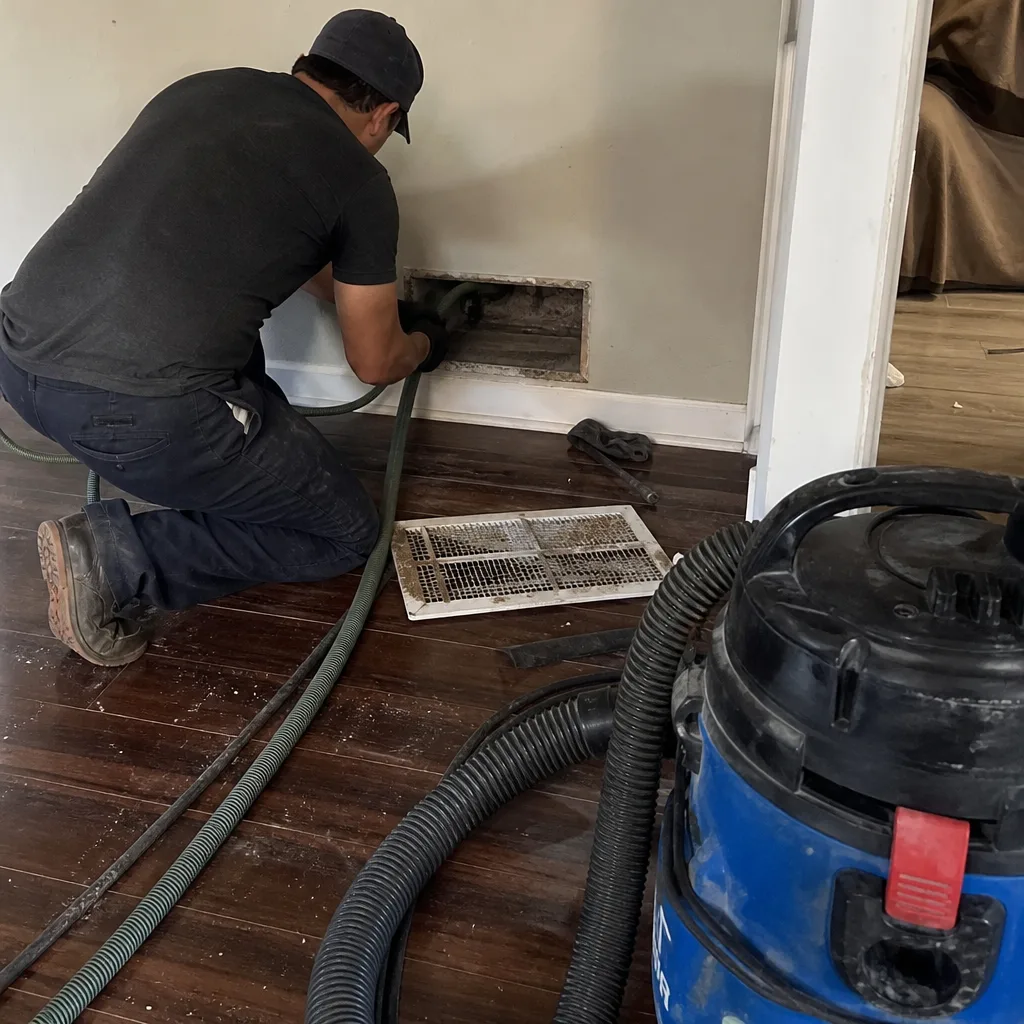 Before
 After
After