
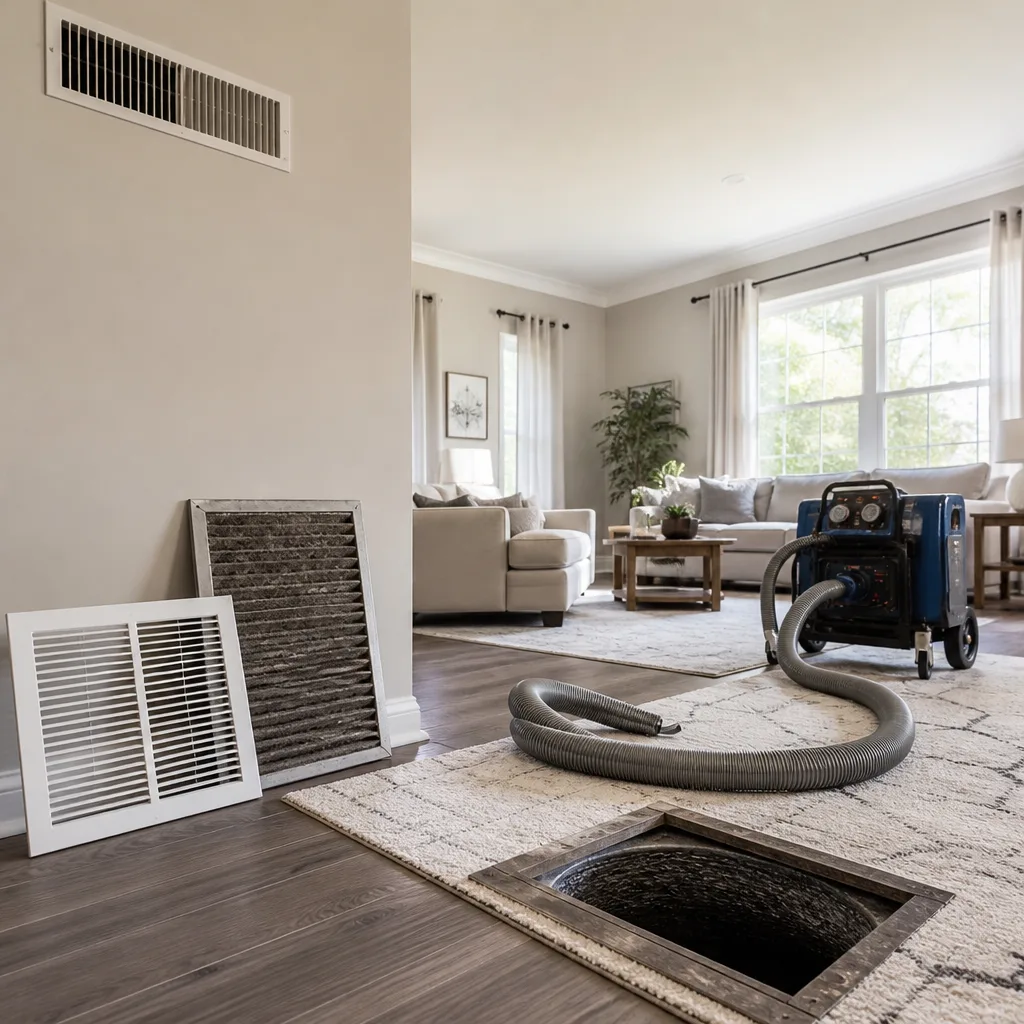
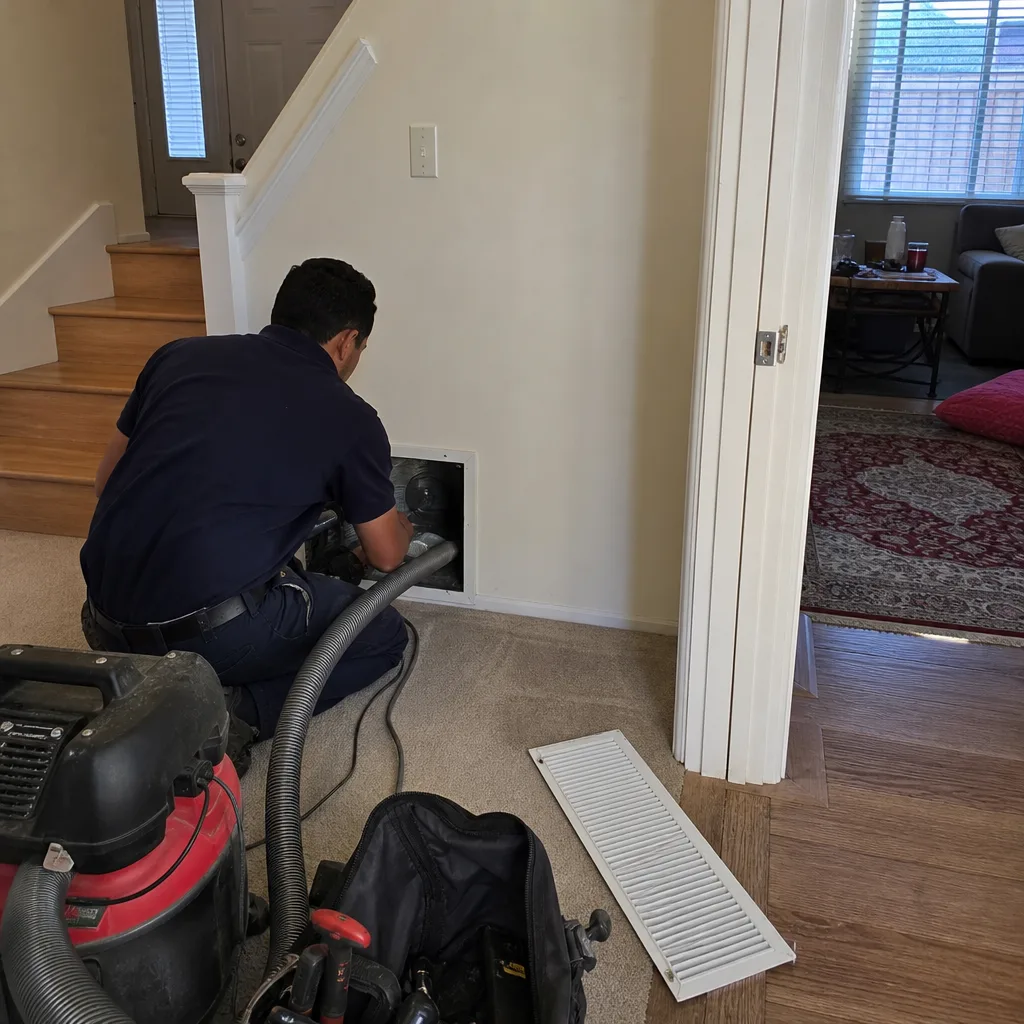
 Whole-home duct cleaning
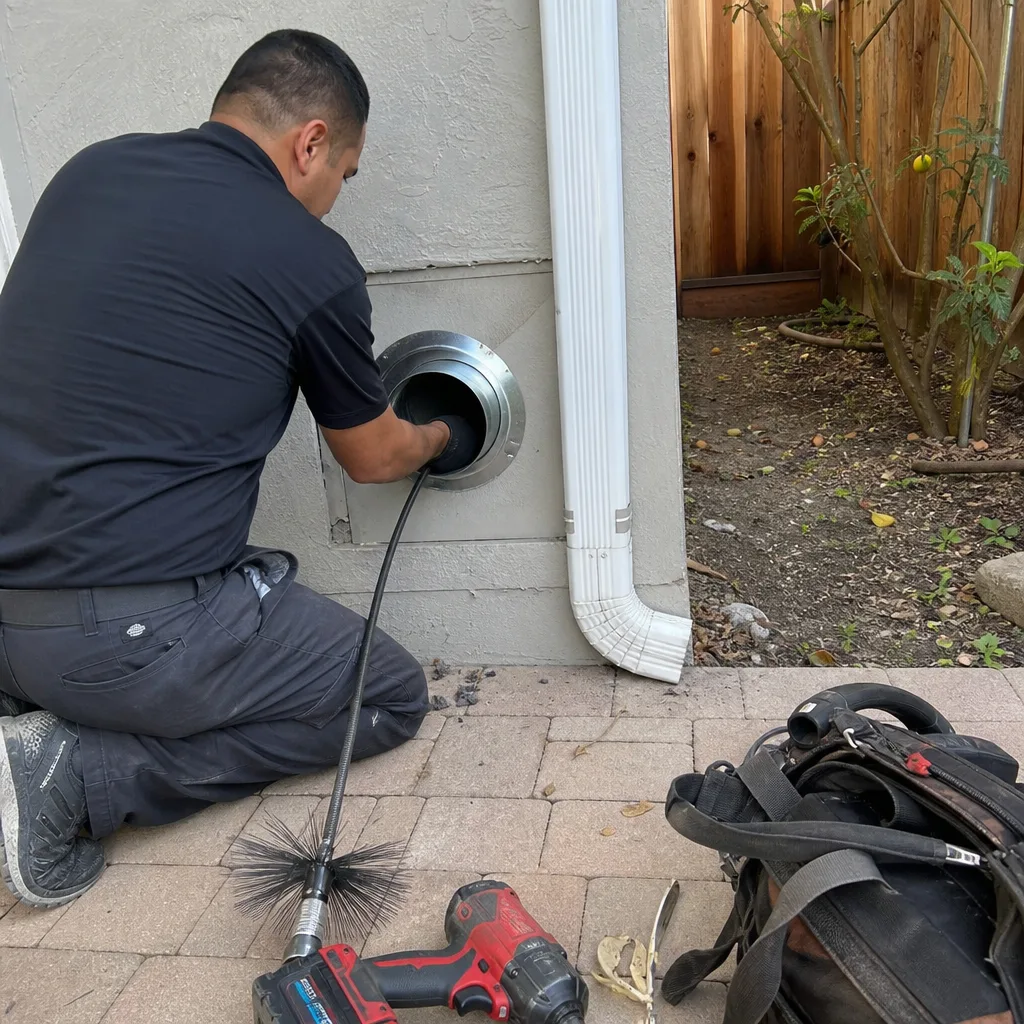
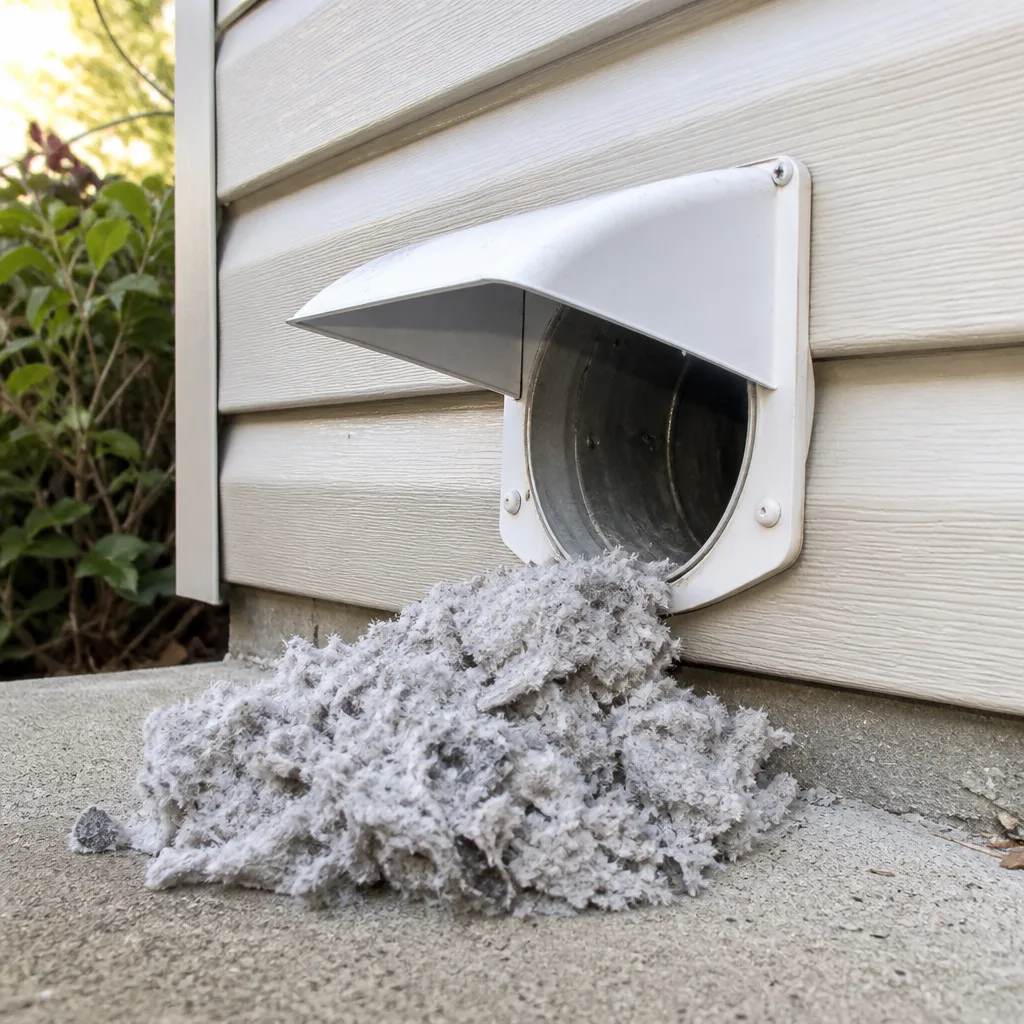 Dryer vent cleaning
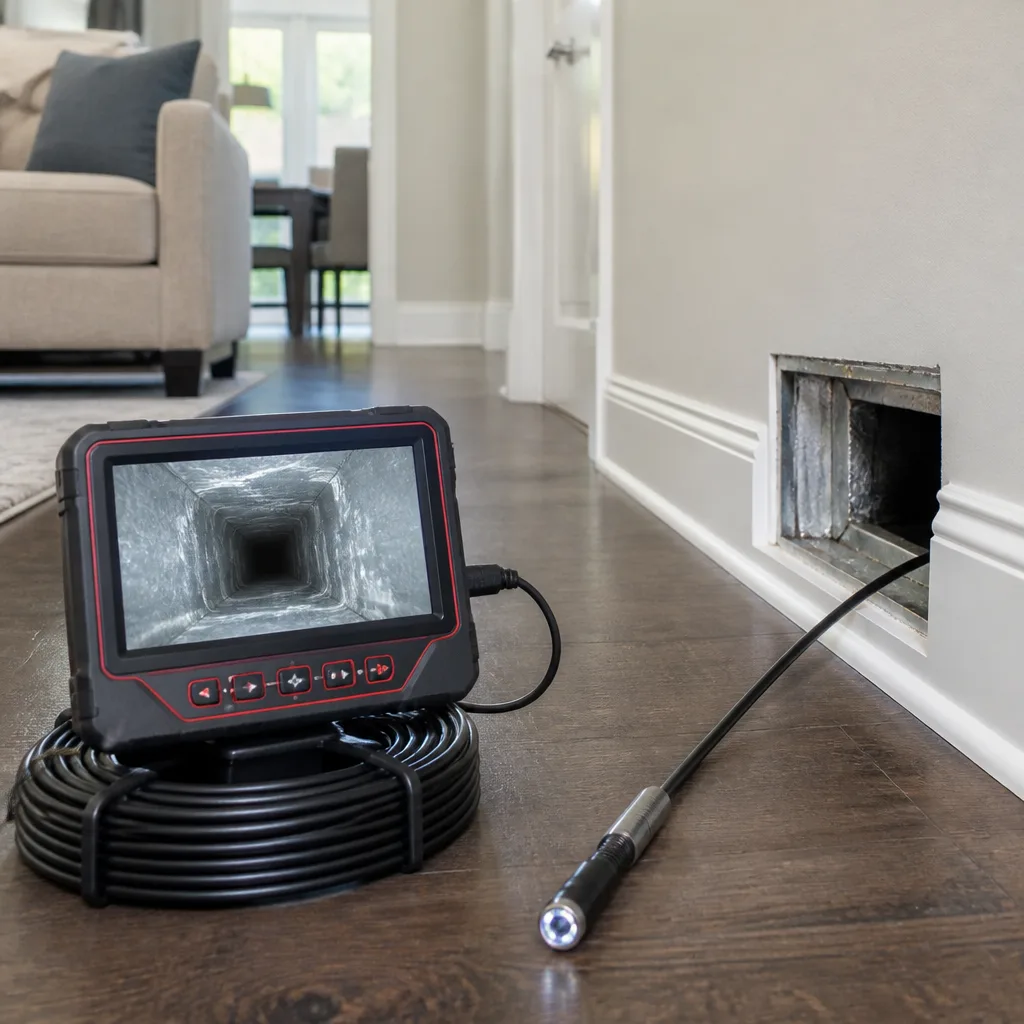 Camera inspection
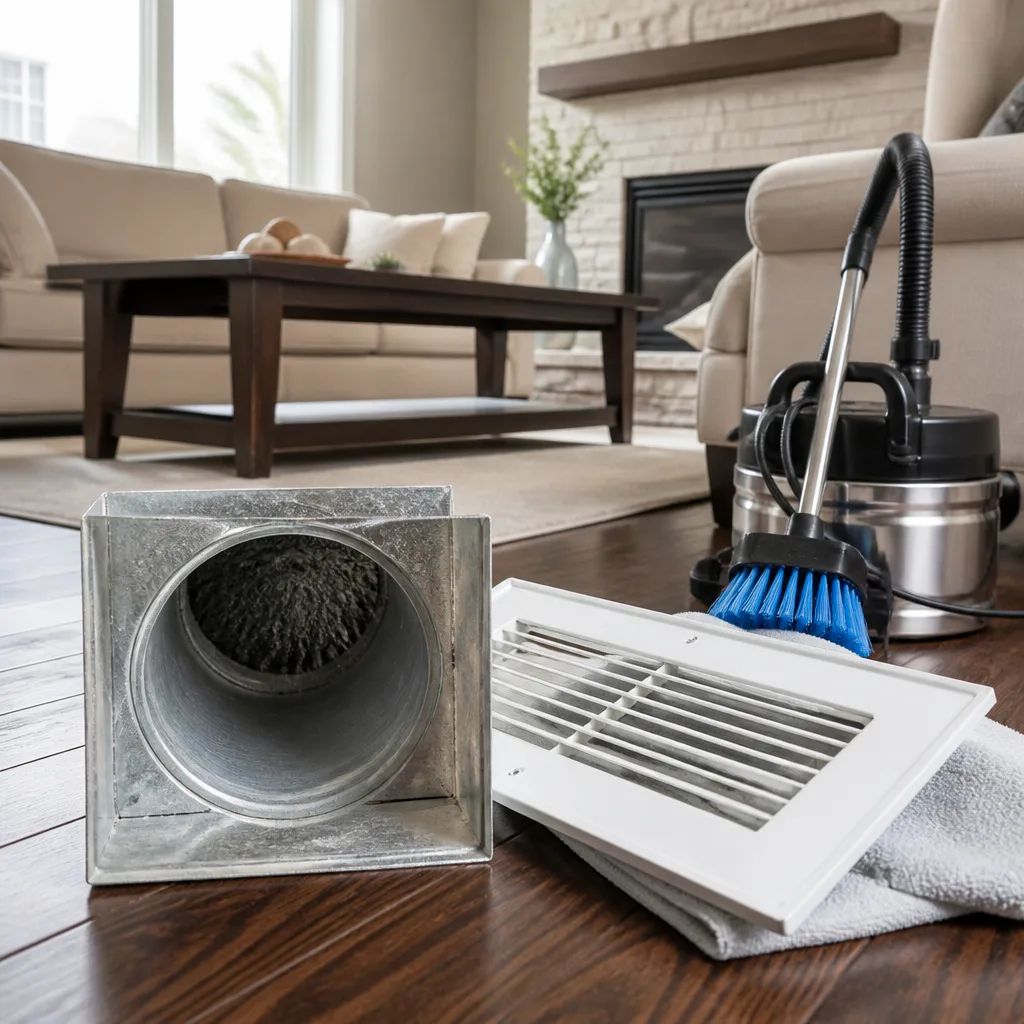 Sanitizing & deodorizing
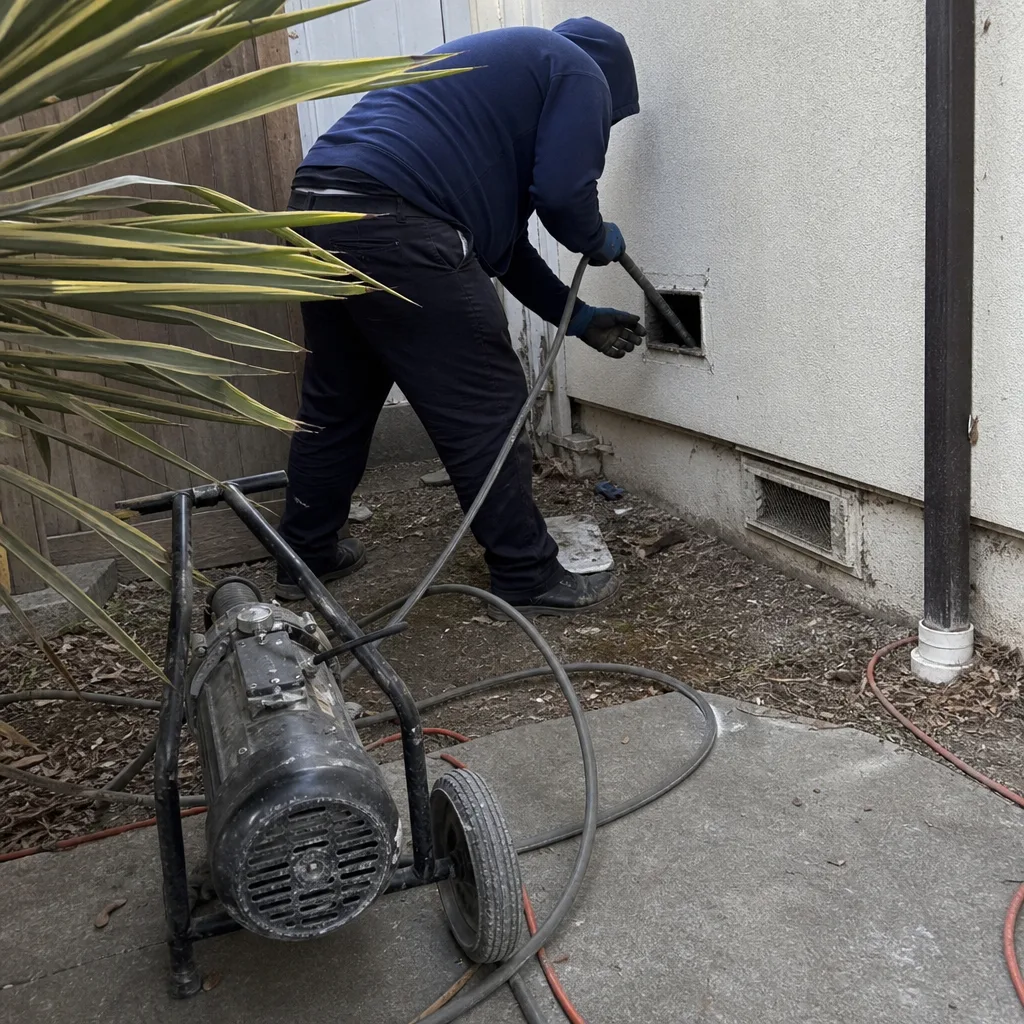
Whole-system duct and dryer vent check with before-and-after photos - you see exactly what came out of your vents
That "$99 whole-house special" is a bait ad - the real number appears once they are in your hallway, or the "clean" is a shop-vac at the register. We photograph the inside of your ducts before and after instead.
Honeywell Duct Sealing & Repair: The San Jose Owner’s Guide
If you’re searching for Honeywell duct sealing and repair in San Jose, here’s the straight answer: we stock Honeywell-compatible sealing materials, repair tape, mastic, and replacement components, and most sealing jobs in San Jose run between $285 and $540 installed. The job usually takes a single visit, and if your Honeywell-branded duct system is leaking, we can pinpoint the failed seal and fix it the same day in most cases.
The way most San Jose homeowners discover the problem is subtle at first. A room that’s always five degrees warmer than the rest of the house. A dust film that reappears on furniture two days after you wipe it down. An energy bill that climbs even though your usage patterns haven’t changed. Those are the symptoms of air escaping through failed duct seals before it ever reaches the register. By the time you can see curling tape or a visible gap in a duct joint, the leak has likely been costing you money for months.
- Typical installed cost in San Jose: $285 – $540 depending on access and number of failed seals
- Most common failure point: aging mastic and tape at duct joints and plenum connections
- What we stock: Honeywell-compatible mastic, UL 181-rated foil tape, and replacement collars
- Symptom most owners miss: uneven room temperatures that they blame on the thermostat
Which Honeywell Models This Applies To
Honeywell doesn’t manufacture ductwork itself, but their zoning systems, dampers, and air-quality components connect directly to your duct runs. The sealing points that fail are where Honeywell motorized dampers, bypass ducts, and filter housings meet the main trunk line. If you have a Honeywell TrueZONE panel, an HZ series damper, or a Honeywell electronic air cleaner mounted at the return, the duct sealing around those components is what we’re repairing.
Here’s what matters for compatibility: Honeywell dampers use a specific collar diameter, typically 6, 8, 10, or 12 inches, and the sealing surface where the damper meets the duct is where failures concentrate. The round-to-rectangular transition at the plenum is another Honeywell-specific weak point because the metal expands and contracts at different rates than the tape originally applied. We keep OEM-spec Honeywell gaskets and collar seals on the truck, along with UL 181 mastic that’s rated for the same temperature range as the original material. For aftermarket options, we only use products that match Honeywell’s spec sheet for the application, never generic tape that’ll bake and crack within two San Jose summers.
One compatibility gotcha to check before calling: if your Honeywell damper was installed before 2010, the collar may be a slightly smaller OD (outer diameter) than current production. The damper label will say “Honeywell” followed by a model like ARD or ZD, and the number after that tells us the size. Having that number ready when you call helps us bring the right parts on the first trip.
Styles & brands we work with
Signs Your Honeywell Duct Sealing & Repair Is Failing
- Rooms that won’t hold temperature. The zone calls for heat or cooling, but one bedroom stays cold in January or stuffy in August. Cause: a failed seal at that zone’s damper collar is bleeding conditioned air into the attic or crawlspace before it reaches the room.
- Dust accumulating unusually fast. When duct seals fail on the return side, the system pulls unfiltered air from the attic, crawlspace, or wall cavity. That’s why the furniture has a fresh layer of dust three days after cleaning. Cause: return-side leaks are drawing in whatever’s floating around outside the duct.
- A whistling or rushing sound near the indoor unit. Air escaping through a failing seal under pressure makes a distinct high-pitched sound, especially at plenum connections. Cause: the mastic has dried and cracked, and now air is forcing its way through a gap measured in millimeters.
- Energy bills creeping up without explanation. PG&E rates shift, but a 20 to 30 percent jump that doesn’t match weather changes is often a duct leak. Cause: your system runs longer to compensate for lost airflow, and that runtime shows up on the bill every time.
- Visible foil tape peeling at joints. If you can see silver tape curling away from a duct joint, the seal has already failed. Cause: standard foil tape loses adhesion after years of heating and cooling cycles, especially in San Jose attics where summer temperatures regularly exceed 130 degrees.
See the difference
 Before
 After
After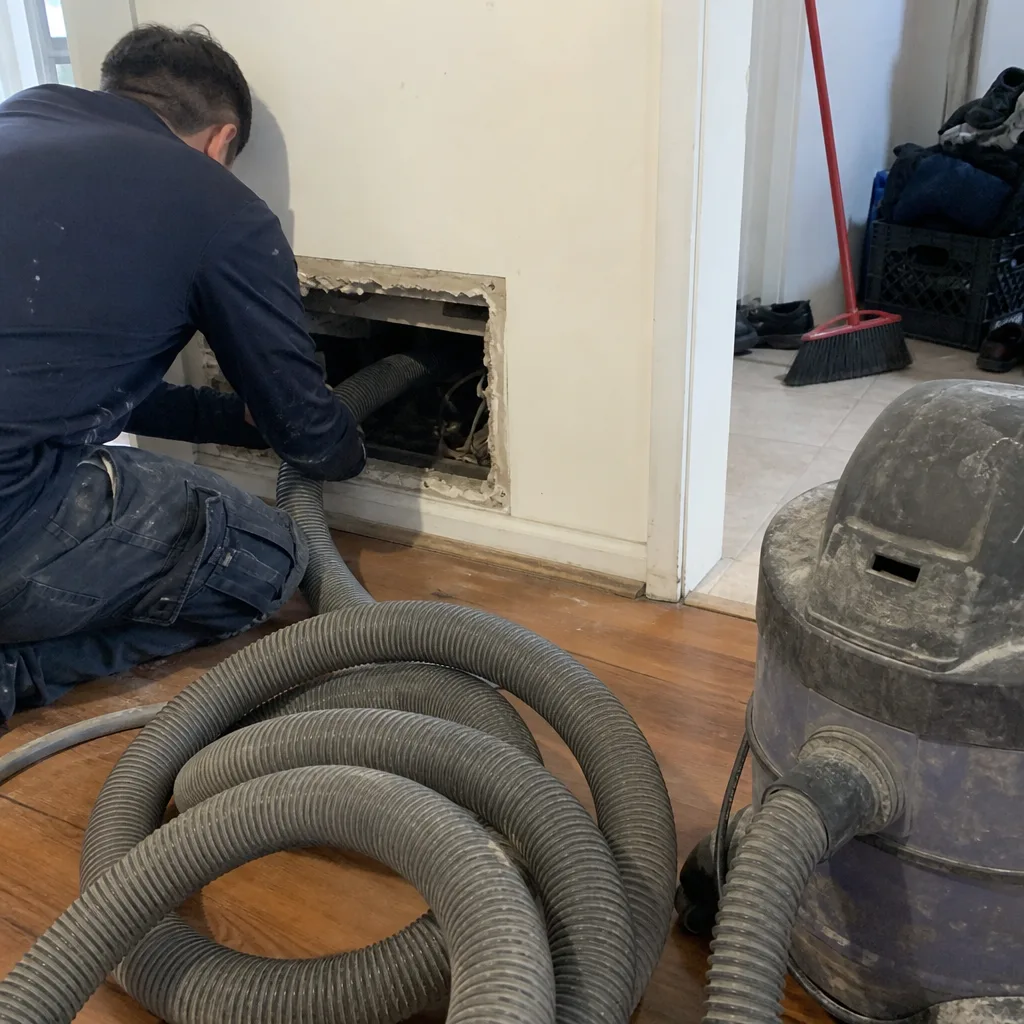 Before
 After
After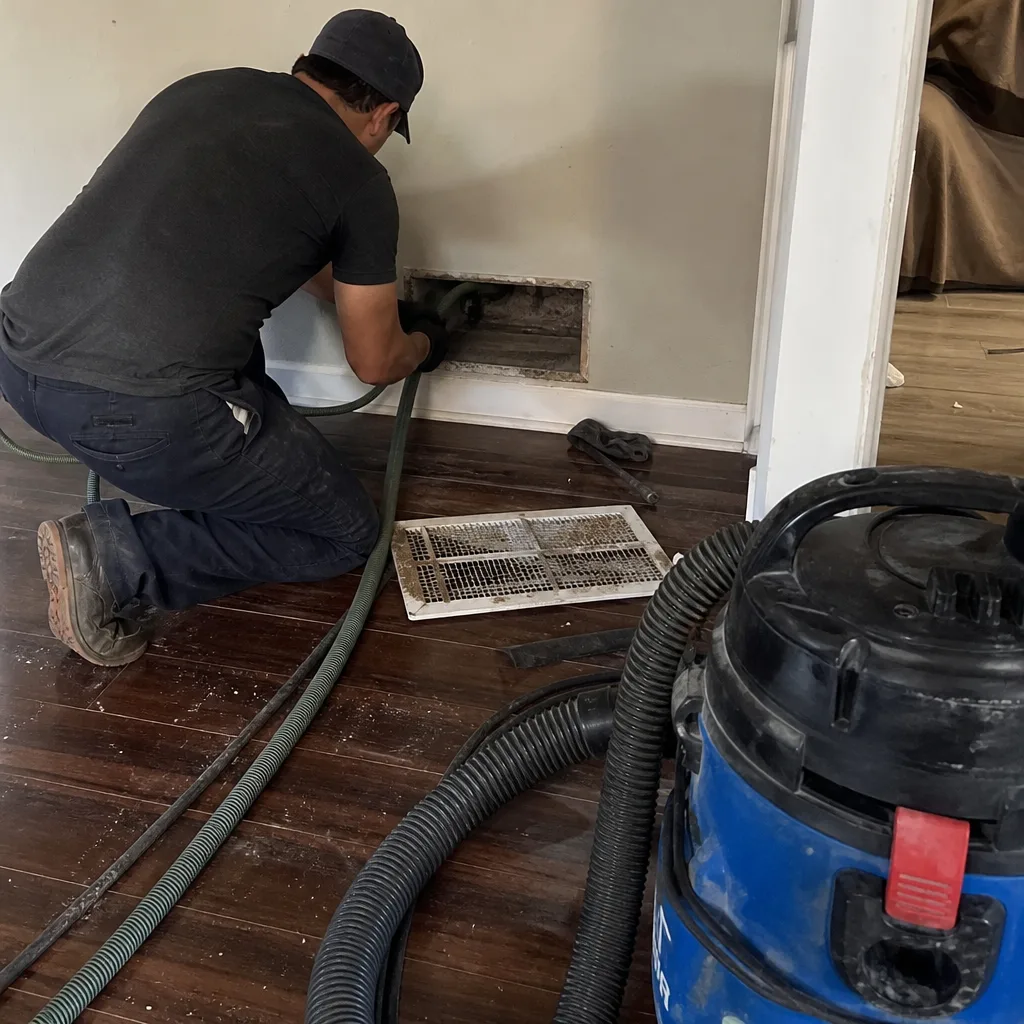 Before
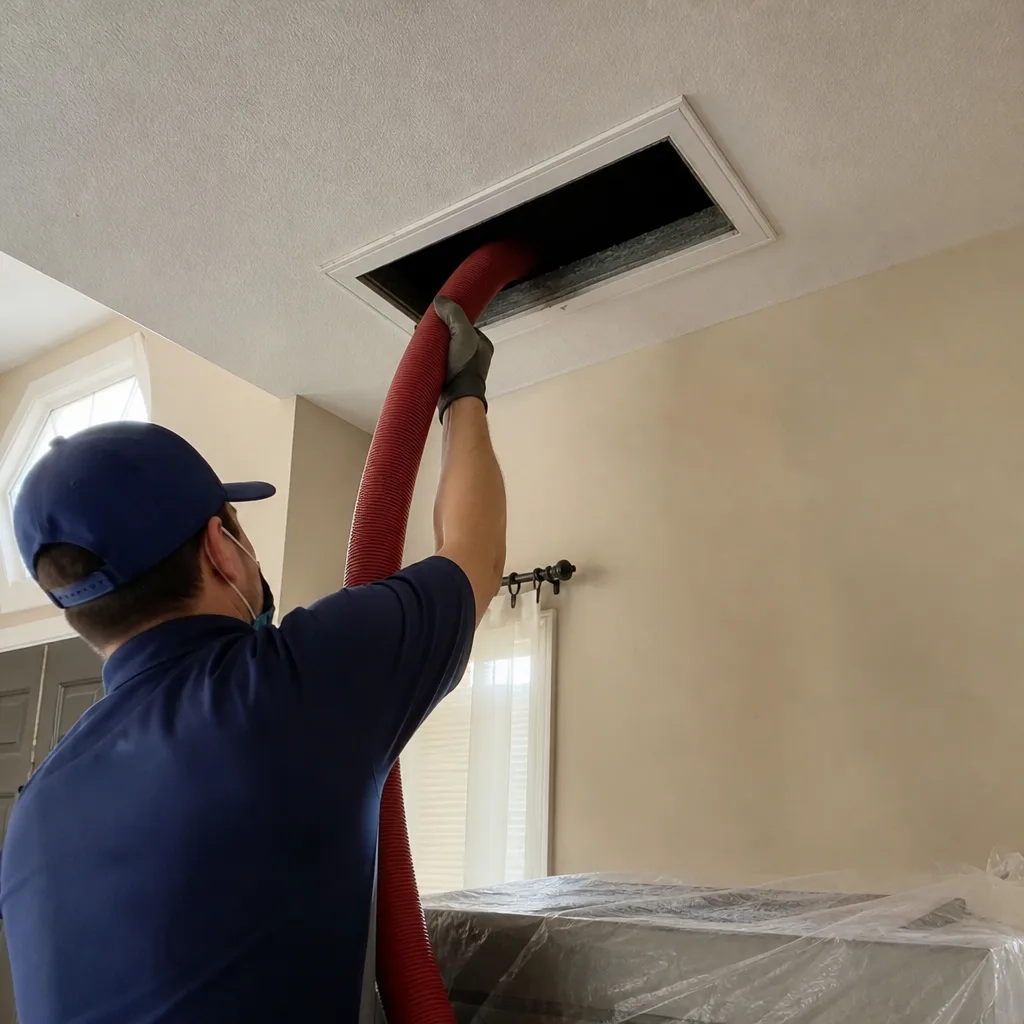 After
AfterReplacement Cost & What’s Included
In San Jose, Honeywell duct sealing and repair jobs on a typical single-zone home run between $285 and $540 installed. That includes the materials, the labor to access the failed joints, and cleanup of the work area. Two-zone systems with multiple Honeywell dampers run higher, between $450 and $750, because every damper collar and plenum connection gets inspected and resealed. Larger custom homes with three or more zones can reach $850, though that covers a system-wide reseal, not just one or two joints.
What drives the price is access. A damper in an open attic is quick work. A damper buried above a finished ceiling or behind a closet wall takes longer because we have to work through an access panel or cut and patch drywall. Either way, you get a written price from us before any work starts, so you’ll know the number before we touch a single duct. Every sealing job carries our 365-Day Done Right Promise in writing: if a seal fails within a year, we come back and make it right at no charge. You’ll also get before-and-after photos of the repaired joints so you can see exactly what was done, because this is the kind of work that’s easy to claim and hard to verify if you don’t have proof.
DIY or Call Us?
You can safely do two things yourself. First, inspect the visible ductwork in your attic, garage, or crawlspace with a flashlight. If you see peeling tape, cracked gray mastic, or a damper collar that’s visibly separated from the duct, you’ve identified at least one leak. Second, you can snap photos and note which Honeywell component is involved. That information helps us quote accurately over the phone.
What we don’t recommend is climbing into a hot attic in July with a roll of tape. Here’s why, and it’s not a scare tactic: attic temperatures in San Jose can hit 140 degrees by mid-afternoon, working around duct seams requires reaching into tight spaces near sharp sheet metal, and resealing a Honeywell damper collar usually requires removing the actuator, resealing the collar, and recalibrating the damper position. What takes us 90 minutes with proper materials and experience often takes a homeowner an entire weekend, and a failed reseal just means paying to have it done twice. If it’s an electrical damper actuator or a zone panel wiring issue, that’s another reason to leave it alone; line voltage and control wiring aren’t worth guessing at. Call us at (669) 220-7869 and we’ll walk you through what you’re seeing before we schedule the visit.
FAQs
Properly applied mastic and UL 181 tape on a Honeywell damper collar should hold for 10 to 15 years in our climate. The failure point is almost always the original installer’s material choice and surface prep, not the Honeywell component itself. If the collar was wiped clean and the mastic was applied at the right thickness, it’s durable. If the installer wrapped it in standard hardware-store foil tape and called it done, expect failure in three to five years. Call (669) 220-7869 and we can assess what’s holding your seals together right now.
Most failures can be repaired in place without replacing the Honeywell component. We remove the old tape or cracked mastic, clean the mating surface properly, and apply new UL 181-rated mastic with proper overlap onto both the collar and the duct. Replacement is only necessary when the collar itself is warped, rusted through, or the damper blade is binding. That call is made on site and only after we show you exactly what we’re seeing. For a straight answer about your system, call (669) 220-7869.
A single damper collar or plenum joint reseal typically takes 60 to 90 minutes. A full system reseal on a two-zone house takes three to four hours, including inspection of every connection, the sealing work itself, and a post-repair airflow check at each register. We’ll tell you the expected time before we schedule, and we show up in the window we gave you. That’s part of the Kingswell Way, the operating standard Dale Whitmore has kept since 2004.
We keep Honeywell-compatible gaskets, collar seals, UL 181 mastic, and foil tape on our trucks, along with common damper actuator replacements. Our trucks are stocked for the sealing and repair work that San Jose homes actually need, and we also work with Lennox, Trane, and Carrier components when a mixed-brand system shows up. If your Honeywell component requires a special-order part, we’ll tell you that up front and give you a timeline before you pay for anything. Call (669) 220-7869 and we’ll confirm what we can bring on the first trip.
Written by Dale Whitmore, Owner, Kestrel Air Duct San Jose at Kestrel Air Duct San Jose, serving San Jose and nearby areas.